


 |
Assign a Single Vehicle to a Schedule
Assigning a single vehicle to a maintenance schedule is done from the Update Vehicles tab.
To Assign a Single Vehicle to a Schedule:
1. Select the Update Vehicles tab, and then select the Vehicle Name from the drop-down list.

2. If the vehicle is not currently assigned to a maintenance schedule, VConnect displays an Assign Message window.
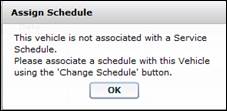
3. Click the OK button to continue.
4. Click the Change Service Schedule button at the bottom of the screen.
• The Change Service Schedule screen displays.
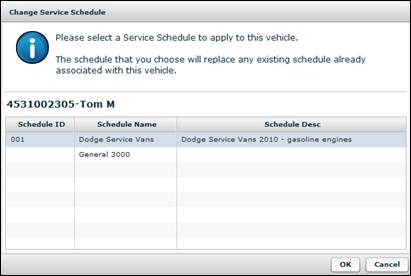
5. Select a schedule from the list, and then click the OK button.
• VConnect assigns the vehicle to the maintenance schedule.
6. Next, you must add a beginning service record for each service item included in the schedule. Refer to Add Service Record.
• If you do not establish a baseline, the columns on the Update Vehicles tab display “No History Available.”
