


|
Install Device
To Install a Device:
1. Select the Installation Portal button on the Sidebar, and then click the Installations button.
• The Install Device screen displays.
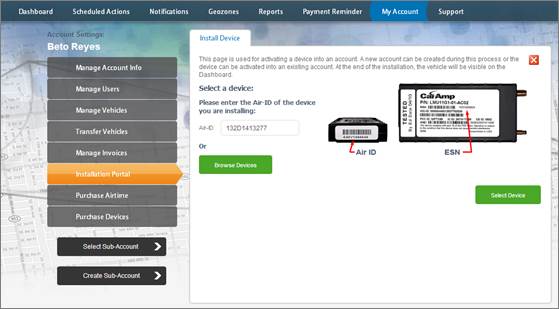
2. Enter the device Air-ID or click the Browse Devices button to select the Air-ID from a list.
3. Click Select Device button.
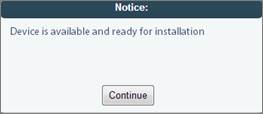
4. Click Continue button.
• The Select Vehicle screen displays.

5. Select the Vehicle:
• Show Vehicles – Displays a list of prepared vehicles from the selected account.
• Add New Vehicle – Typically used by small to medium customers. This option enables you to create a new vehicle.
• Use the Air ID as a Default Vehicle Name – Selecting the option creates a basic vehicle with the Air ID as the vehicle name.
6. Click Select Vehicle button.
• The Diagnostics Testing screen displays.

7. Click Test Diagnostics button.
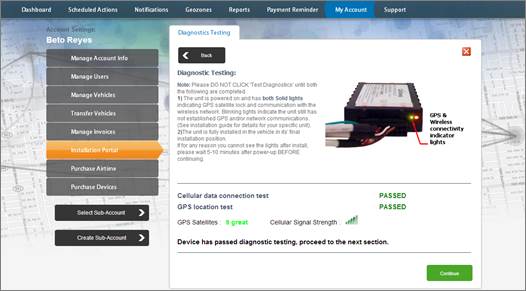
• If the GPS Location Test passes, LenderOutlook displays the number of GPS satellites and cellular strength.
• If the GPS Location Test fails, you cannot continue with the Functional Testing.
8. Click Continue button.
• The Functional Testing screen displays.
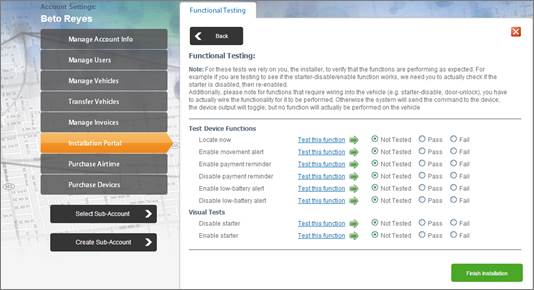
9. From the Functional Testing screen, click the Test this Function link for each test.
• LenderOutlook returns a Function Test Result for each test:
• You must manually select each Function Test Result (e.g., Not Tested, Pass or Fail).
10. When finished testing, click the Finish Installation button.
• The Installation Confirmation displays. You can print this information and save with your records.
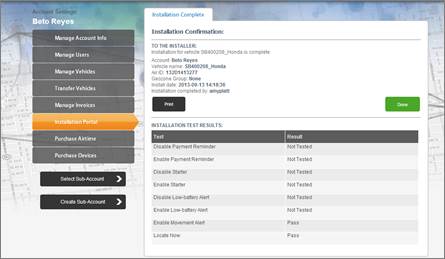
11. Click the Done button.