


|
Create a Geozone
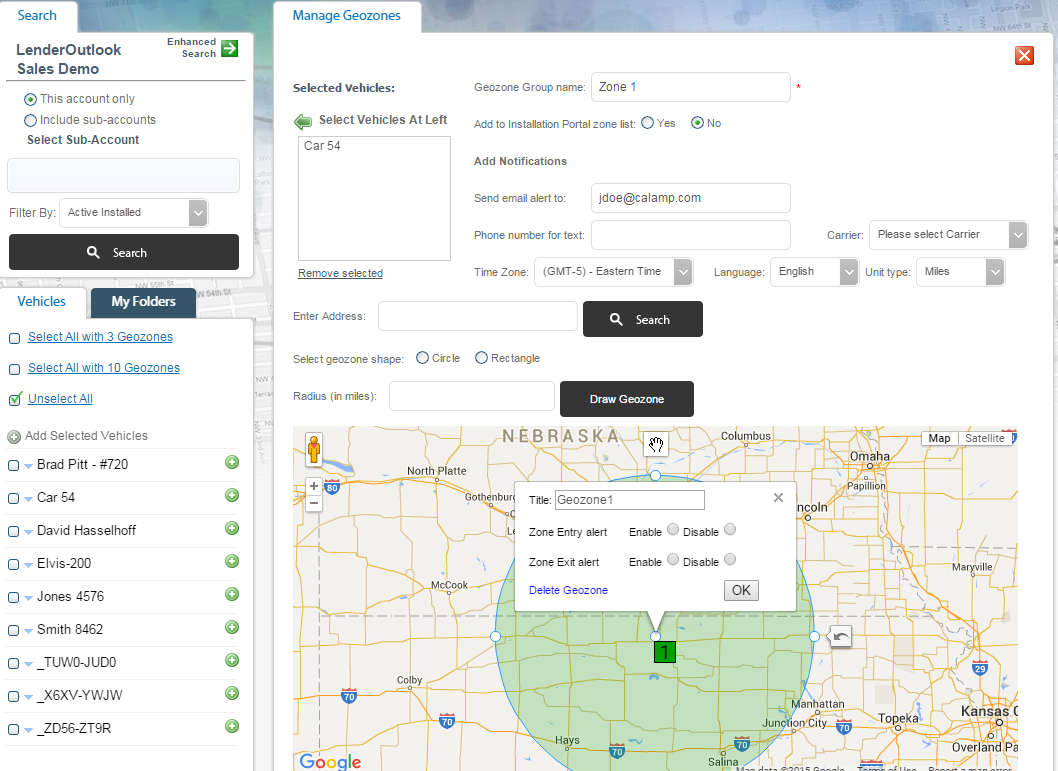
You create geozones from the Manage Geozone screen, which separates the set-up using a two-pane view. The top pane displays fields for defining the geozone and configuring any notifications; the bottom pane displays the geozone directly on the map, where you can easily edit, move or delete the geozone.
Note: At the bottom of the Manage Geozones screen, the Geozone Drawing Controls always display. This on-screen tips help you create and modify geozones.
To Create a Geozone:
1. From the Geozones tab, select the Add New Geozone tab.

2. The Manage Geozones screen displays.

3. Enter a descriptive Name for the Geozone Group.
• The name is a required field. The name appears on notifications and in the Installation Portal, if selected. A short and easily understood name is best.
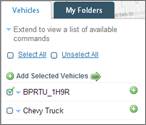
4. Add Vehicle(s) to the geozone:
• To add a single vehicle or one vehicle at a time, click the Add button next to each vehicle.
• To add multiple vehicles at once, select the check box for each vehicle and then click the Add Selected Vehicles button at the top of the Vehicles list.
5. Select whether to display the Geozone in the Installation Portal.
• If you select yes, users can add vehicles to the geozone during the installation process.
6. Configure one or both Notification options, if preferred.
• You must enable notification for each geozone in the group. By default, geozones do not have zone entry and exit alerts enabled.
7. To receive notifications via email, enter your Email address.
8. To receive notifications via text message, enter your Phone Number, and then select your mobile Carrier from the drop-down list.
9. Type the geozone address in the Address field, and then click the Search button, or click on the map and draw the geozone.
• LenderOutlook centers the map and places a pins the Geozone icon at the physical location of the address.
10. Select a Geozone Shape (i.e., Circle or Rectangle).
11. Specify the Geozone Size using one of two options:
• Enter the Radius size, and then click the Draw Geozone button.
• LenderOutlook assigns a Zone ID to the geozone.
12. Select the Enable options for Zone Entry and/or Exit, and then click the OK button.
13. Click the Save Update button.
14. Click the Yes button to confirm the action cost for sending a geozone to a vehicle’s installed device.